Monday, April 3, 2017

WINGS Session-Bookbinding, Art Jouraling, & Marbling

This last weekend I taught a workshop for middle schoolers on sketchbooks: the keeping of, the making of, and what to include in. We also talked about creativity and the ways artists practice creativity.

We talked about reasons artists keep sketchbooks and they came up with a pretty good list. (Don't want to be bored anywhere, practice makes perfect, experimentation, list of ideas, note taking, safe place to express feelings, keeping our eyes open and being present, having a record of progress, inspiration...and I'm sure you can think of many more.)

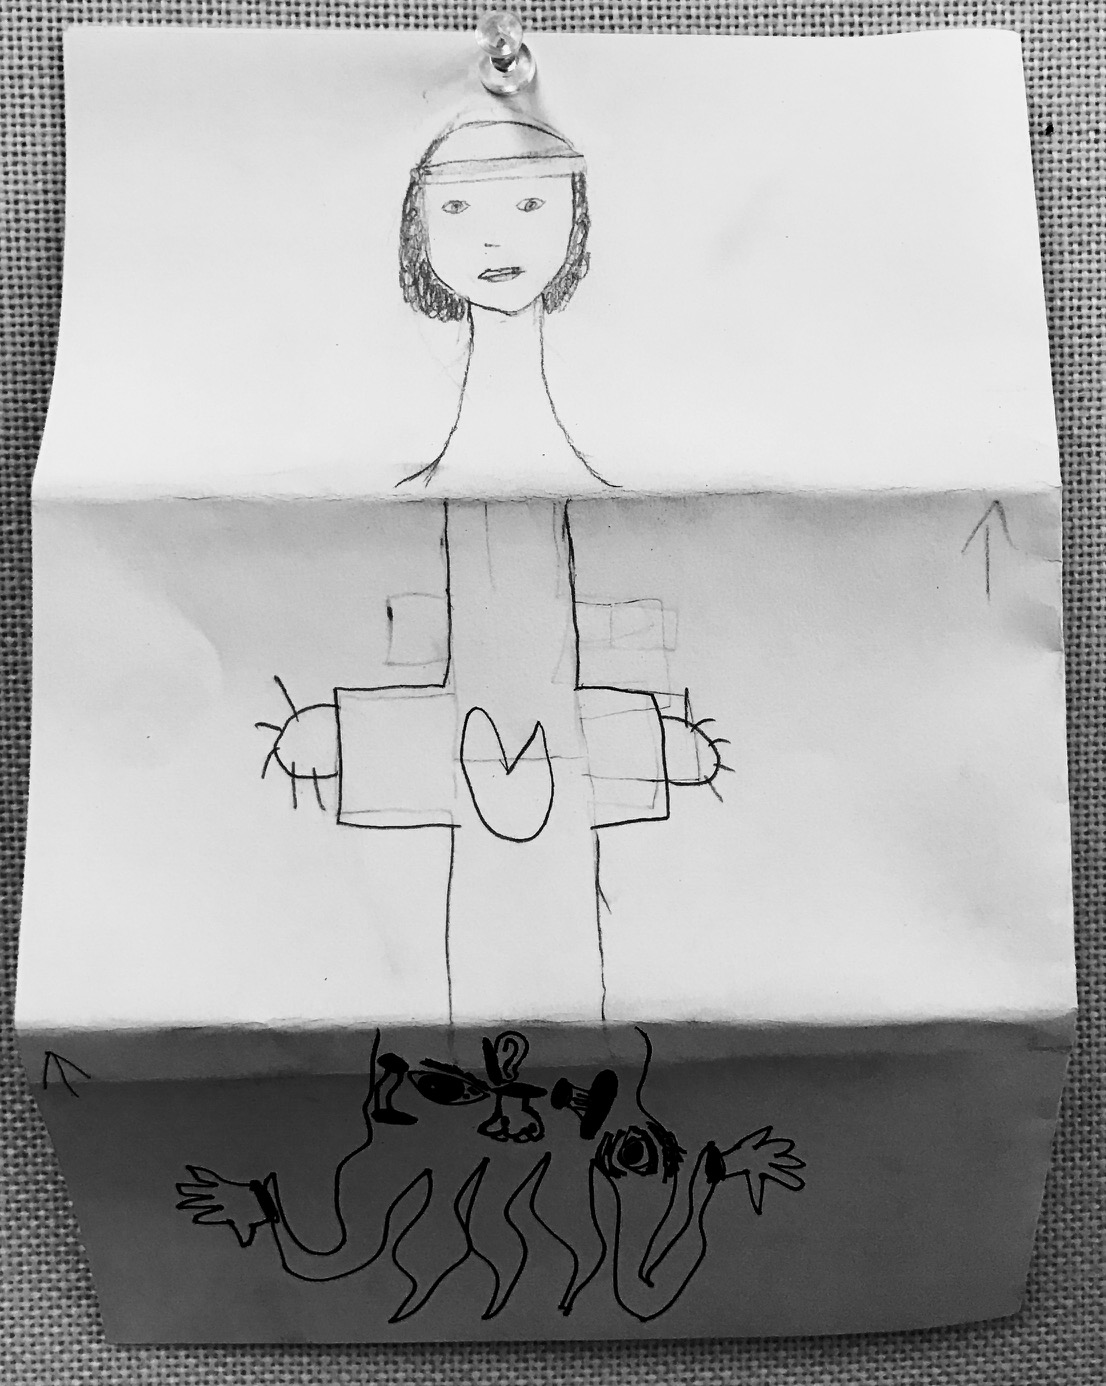
Then we practiced some drawing exercises for the purpose of encouraging idea generation and flexible thinking, including tea blot drawing, exquisite corpse, finish the line, and a non-dominant hand self-portrait. This was a little nerve wracking for this age group--no one wanted to look like a "bad" artist, but they participated admirably and we got some really cool drawings.


Next we started the process of making our own sketchbooks. The students made ten signatures of four pages and used coptic stitch to bind them. We didn't get our books all the way done. The process was complex and new and also time consuming (due to some supply issues), but everyone got to the point, I think, that they could finish their book at home.
(Sketchbook I made for the demo)
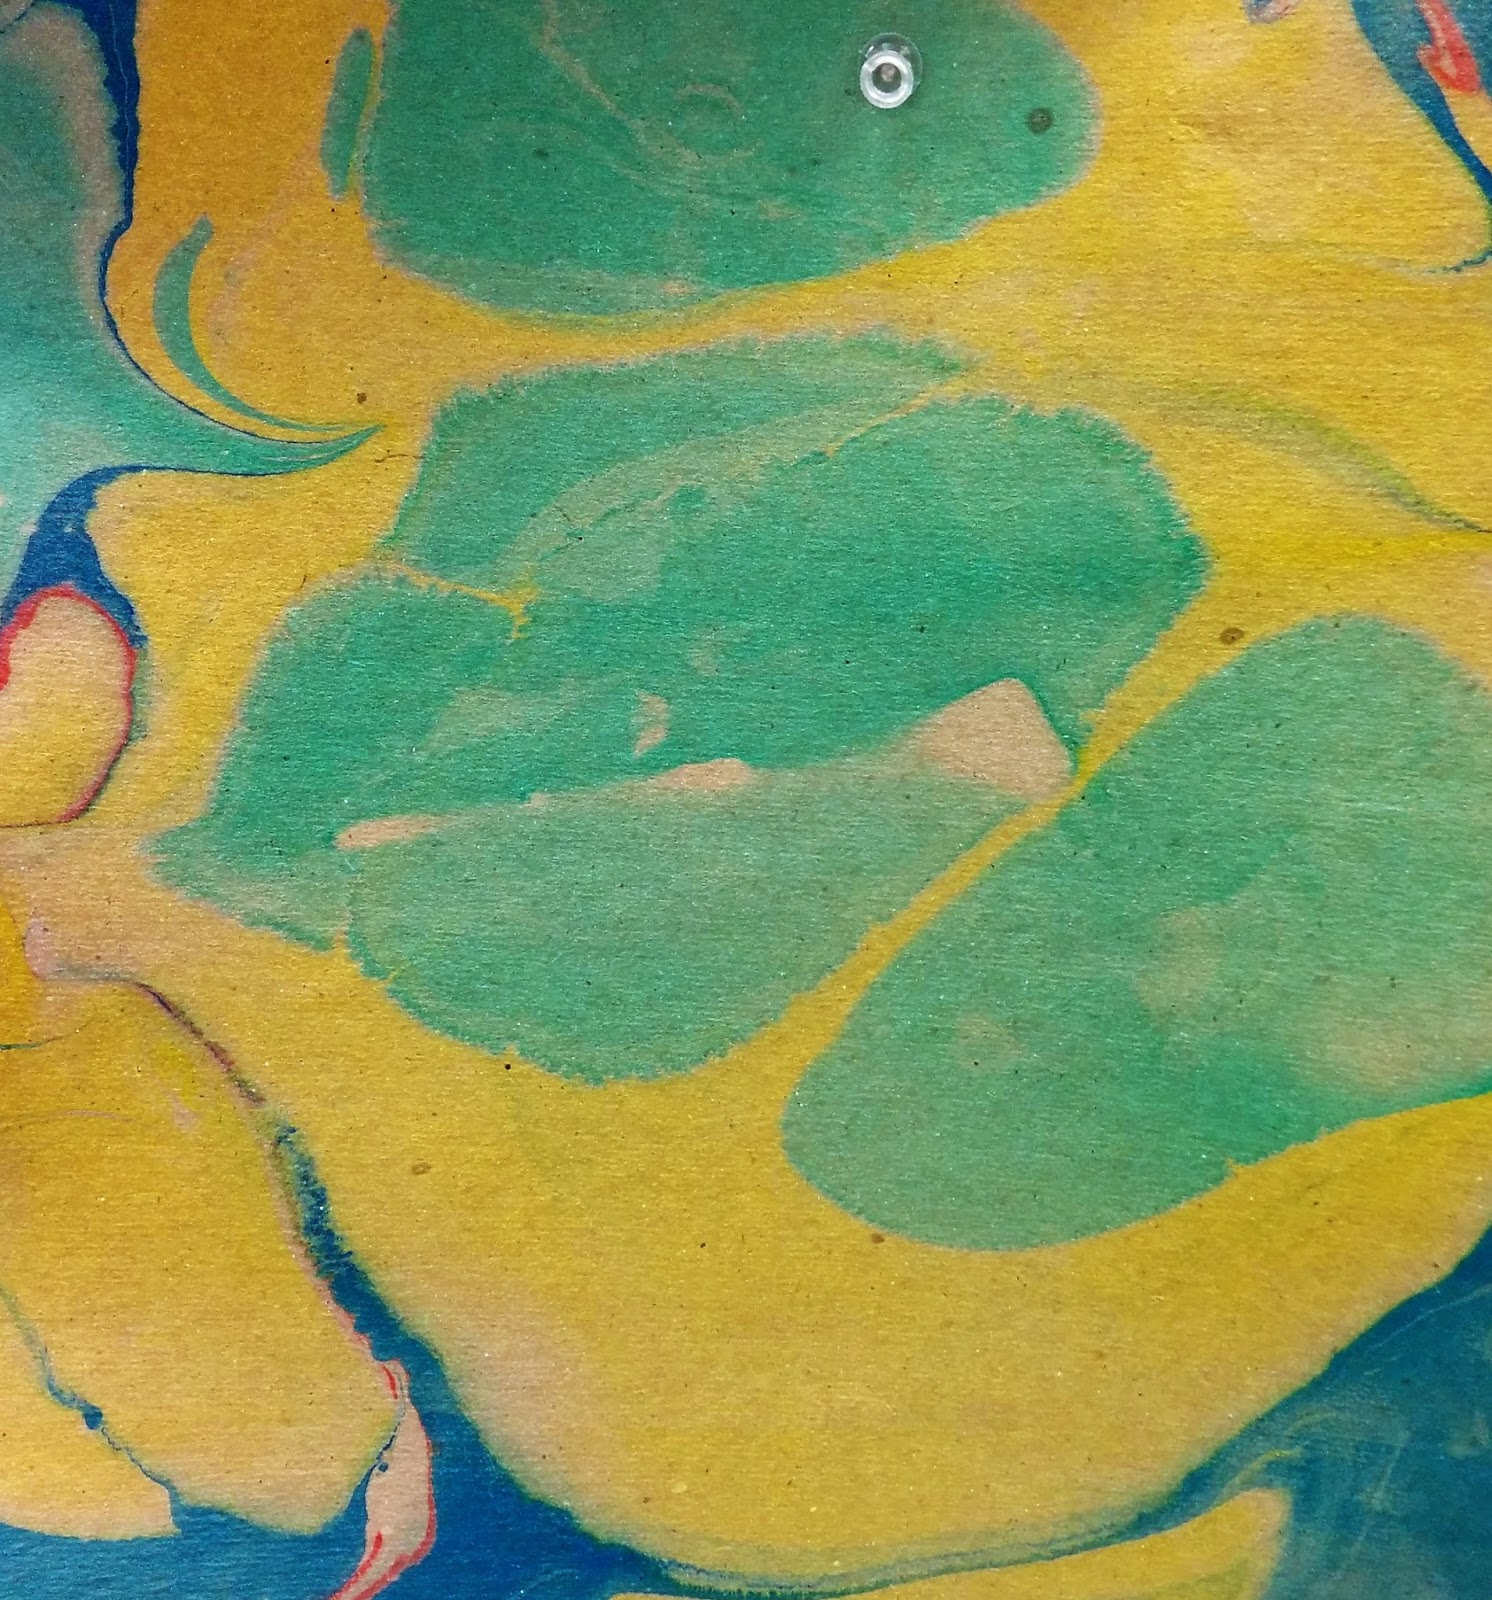
So we moved on to paper marbling. Here the kids got really into it. It was great to see them experiment with how the paint spread and formed. They got some awesome pieces for including in their sketchbook later and had so much fun doing this part of the workshop.


Monday, July 25, 2016

Day 10: Final Class & Show


I didn’t plan a lesson for our last day. We only had a full hour and a half of class time before we would need to prepare for the final show, so I designated the time as catch up and wrap up time.

First I had students break out their resin bugs and remove the clay from their plaster casts. It was so gratifying to see everyone so excited about their plaster imprints!

I had planned to do a short (faux) batik activity the day before but had run out of time. I figured that even if we couldn’t get to the painting, we could at least start the activity that morning.

So students were given a piece of white cotton fabric and they made glue lines on their fabric to create a design. I had them write the next steps for the project in their sketchbook so they would be able to do it at home. The next steps involved painting the fabric with acrylic or fabric paint and then washing and drying the fabric until the glue dissolves leaving behind white resist lines everywhere.

We set aside our batiked fabric to dry and went outside to spray paint our dinosaur busts from lesson three. One student hadn’t made a bust at all (he instead had completed more of other projects that day) so I directed that student to make more cyanotypes. Other students had had time to cut out acetate stencils after batiking so we also had students spray painting stencils onto paper during this time.
Wrapping up the spray painting we brought all our materials back inside and got ready to head back outside again to erupt our volcano from lesson seven. This was a great fun!


After the volcano we still had about ten minutes before we needed to begin preparing for our show so I had the students watch the TED talk (longer) version of the “chickenosaurus” video from lesson two.

At this point I had the students gather all their own work and put it in bags and on a trolley for taking over to the show.

The show was great! Everyone got to see what our class had been working on and they got to see what all the other classes had been doing. I got to meet and talk to parents and just enjoy admiring all the accomplishments of all the students. It was a wonderful way to wrap up the class.

Day 9: Plaster Fossils & Field Trip


This was an awesome day. We had planned a field trip and making plaster cast plate of plants—a lesson everyone was looking forward to.

Before our field trip, we briefly discussed the different kinds of fossils that scientists find including amber and frozen mammoth. We discussed how fossils form and also Rachel Dein, the artist we were emulating for our plaster plates.

I probably needn’t have done the talk about fossils since most of that information was covered in our field trip. But I wasn’t sure, at the time, what the field trip would all entail.
We walked over to Trowbridge Hall and Tiffany Aidan did a wonderful job showing us around and teaching us about fossils and how scientists use art for preservation and research. The students dug for fossils in bins and every student was able to find a highly coveted shark tooth.

We also toured the many fossils and specimens in glass cases there and the students sketched their favorite items.

We collected plants and flowers on our way back to the Belin-Blank and once back in the classroom, we were in a rush to get our plaster plates made. The field trip had taken longer than I expected and I hadn’t wanted to cut it short because it was really engaging and educational.

With just enough time, we managed to squeak out our plaster plates and even our “amber” (resin) bugs.

Day 8: Trilobite & Ammonite Printmaking & Relief


This was planned to be a messy day of printmaking. We discussed and looked at images of trilobites and ammonites and the techniques for the day were monotype printmaking, etching printmaking, and making a relief piece. The artist we learned about was Michael Mazur.

The students tried their hand at etching designs into Styrofoam plates and I also explained the difference between an etching and a monotype. For monotypes, they tried just additive and subtractive techniques with the paint on the plates rather than etching.

When they had made a couple prints of each kind, I had larger 8x10 glass plates for a bigger monotype.

We ran into some frustration here as the school-grade acrylic paint was really not at all suited for printmaking. I had used low quality acrylic paint at home for my examples and even *it* worked better than what was in the classroom.
I had requested oil based ink for this lesson, but I couldn’t find any in the supply. I would have switched to oil-based ink for the larger monotype at least, but since there wasn’t any we tried to make a go of it with the acrylic. It wasn’t very successful. This marks the third or fourth time that low quality art supplies in the classroom have caused me trouble and my students disappointment.

In any event, the students did pull some successful prints and while they were drying we began working on our relief pieces.
For this, the students drew a trilobite or ammonite (or dinosaur or eye or whatever) on a piece of cardboard. I then helped them make hot glue lines over their drawing (this for the relief). Then they covered the whole thing in aluminum foil and rubbed to bring their design forward. They added engraving designs to the surface and then a layer of shoe polish to create an antique looking foil plate.

Day 7: Volcanic Art


This day was a bit of a whirlwind. We started off by continuing our theme of the extinction event with “volcanic art”. We had talked previously about how the asteroid that hit Earth set off massive volcanic eruptions known as the Deccan traps.

The techniques we were learning were gouache and ink resist and paper marbling.

To start I demonstrated how to do the gouache resist technique. We used canvas and paper for our gouache and ink paintings, but unless the students applied their gouache very thickly on the canvas, it tended to wash off more than we would have liked. The paper worked much better for this project.

After we had our gouache paintings dry and then covered with a layer of ink, we spent about twenty minutes making a papier-mache volcano scene complete with rocks, gravel, and dinosaurs.
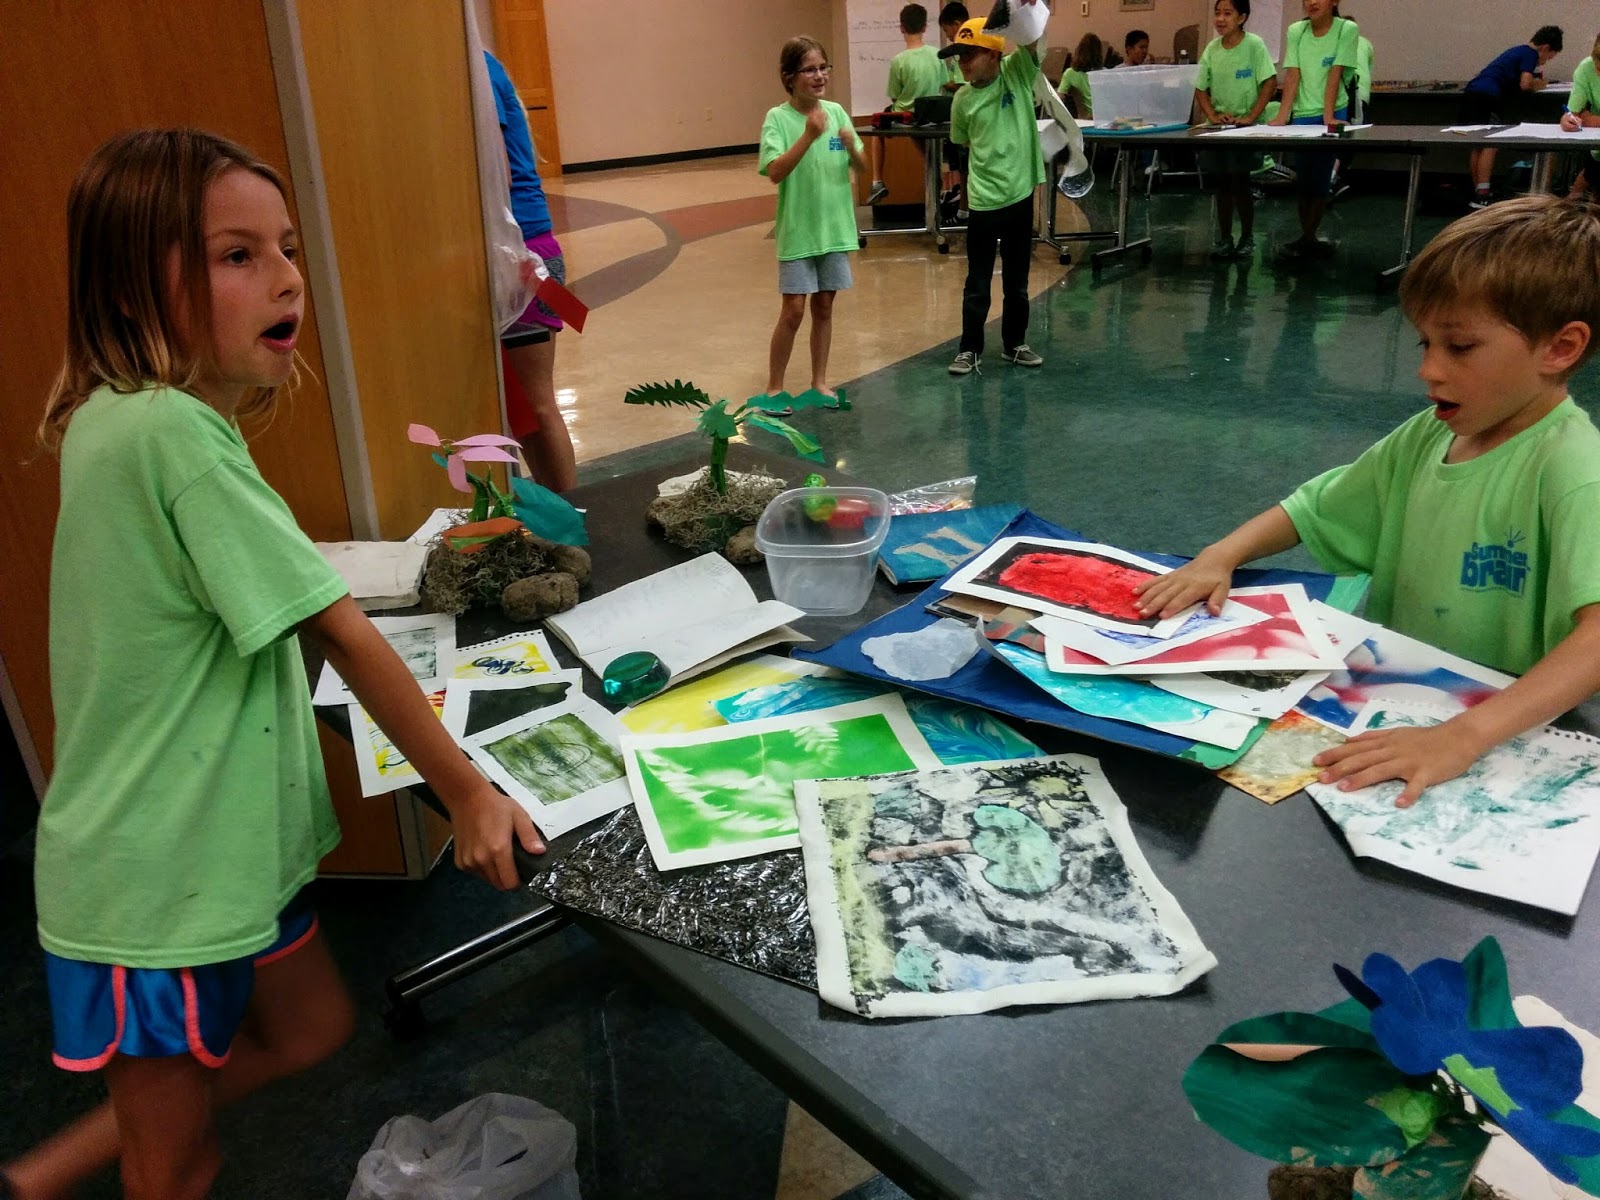
After the volcano was constructed, the students tried their hand at paper marbling. They absolutely loved marbling. When they saw the paint floating on the surface and how it spread with each success drop they all “oohed” and “ahhed”. They were even more amazed when I showed them how to swirl the paint in patterns with toothpicks. When I pulled a print they were still awed. One student exclaimed “I like that!” repeatedly and another said “It’s like magic!”
Each student pulled 3-4 good marbled prints. Toward the end, the students started experimenting and playing with the size and the paint. Even though I repeatedly told them that not following the directions would just make a muddy mess or cause the paint to sink, they still apparently needed to see it for themselves. Too much paint was squirted into the size at once, their swirling became fast and frenetic and the successive prints were mostly uninteresting.

At this point we starting cleaning up the marbling and students began rinsing the extra ink off their gouache paintings. This was when we discovered that the watercolor paper worked much better. But we still had some good results.
Here is a video of students marbling: